For
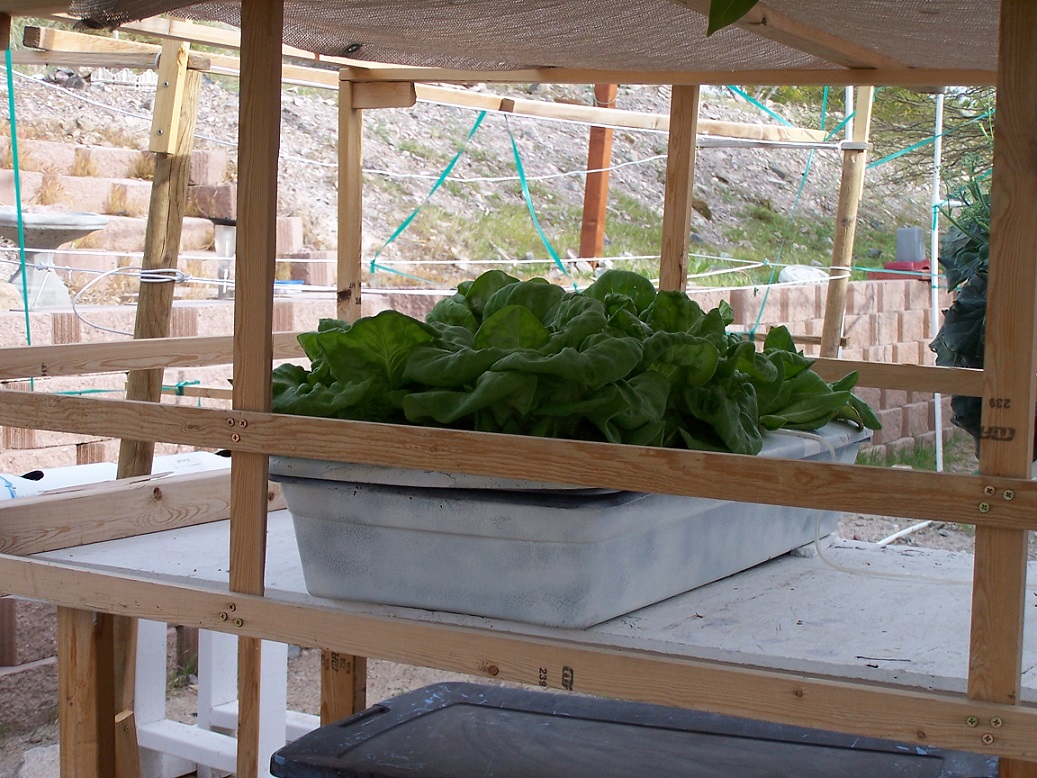
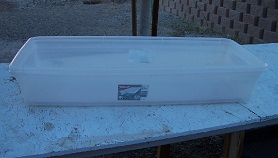
this hydroponic system design we used a 41 quart Sterilite storage
tote (with lid) for the growing chamber. This is a good modular design
because you can use as many grow chambers as you want. You can start
with just one, then add more as you want to expand it. As long as your
air pump can supply a good solid stream of air bubbles to each chamber
(storage tote). If you need to you can get a larger air pump, or use
more than one air pump to supply enough air bubbles.
Hydroponic System Parts List
- Storage tote, or totes (Wal-Mart or any department store)
- Air pump (30-60 gallon aquarium or larger, Wal-Mart or any pet supply store)
- Air line (Wal-Mart or any pet supply with fish aquariums)
- Air stones (Wal-Mart or any pet supply with fish aquariums)
- Eight 3 inch net baskets for each grow chamber (hydroponics supply store)
- Growing Media (hydroponics supply store)
- Black spray paint
- White spray paint
First
cut 8 evenly spaced holes for the 3 inch net pots in the lid of the
storage tote. Make sure you don't cut the holes too big or the net pots
will just fall through. Then place the lid top side facing up on some
newspaper, and the storage tote bottom side up on some newspaper as
well. Paint both black with the spray paint. (note: painting them black
blocks the light and keeps algae from growing inside)
Once
the black paint completely dries, give it a couple of good coats of
white paint. The white paint reflects light/heat, and helps keep the
temperature of water and root zone down. Water temp's in the mid 80's
Fahrenheit, and above result in heat stress to the plants.

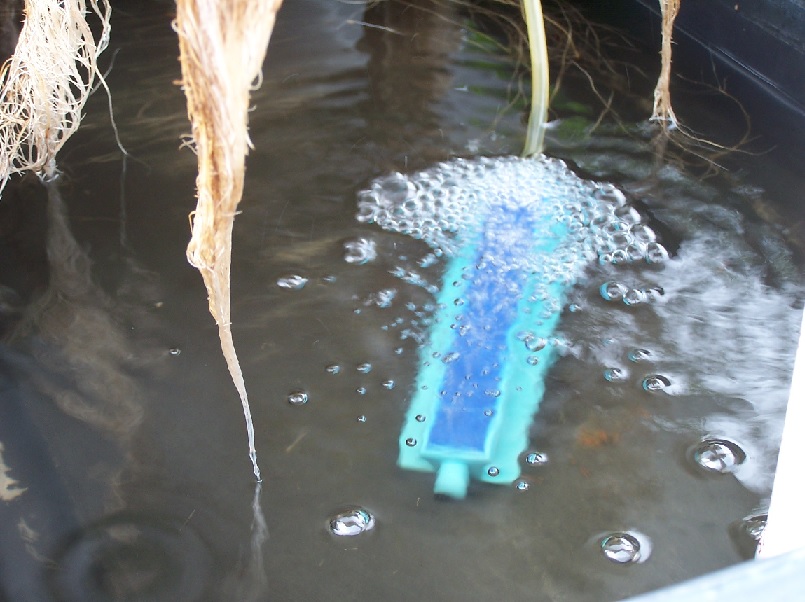
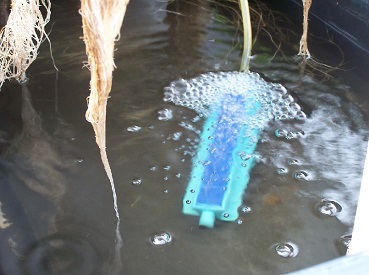
Then
cut another smaller hole in the center of the lid large enough to run
the flexible air hose through. Place your air stones inside the grow
chamber (storage tote). Then connect the air lines to the air stones,
and run the air lines up through the hole in the lid. Close the lid and
connect the air lines to the air pump.
Don't use the one way
check valves that come with the air pump, they can clog and block the
air. Instead make sure you place the air pump at least 6=8 inches above
the water line in the storage tote/s. That will keep water from getting
into the air pump, even if it looses power for whatever reason.
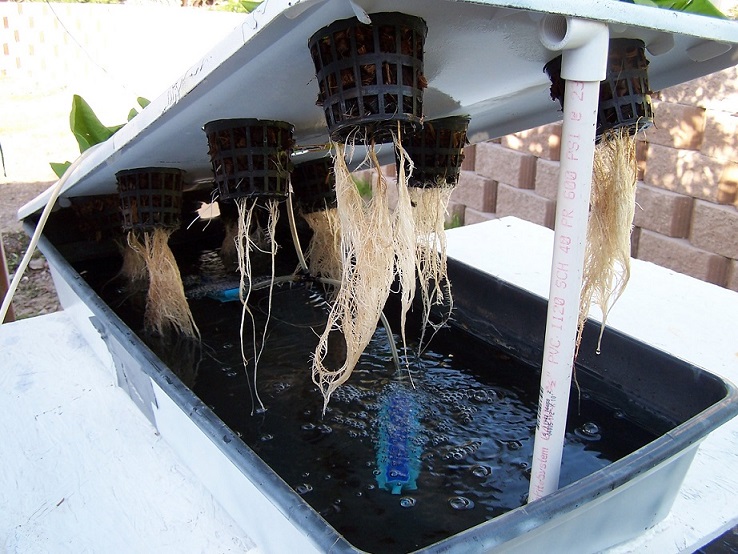
Make
sure the storage tote is level, that way the water will be level inside
the grow chamber as well. Then place your 3 inch baskets in the lid,
and fill the storage tote with nutrient solution so the baskets are
hanging down into the water about 1/2 inch.
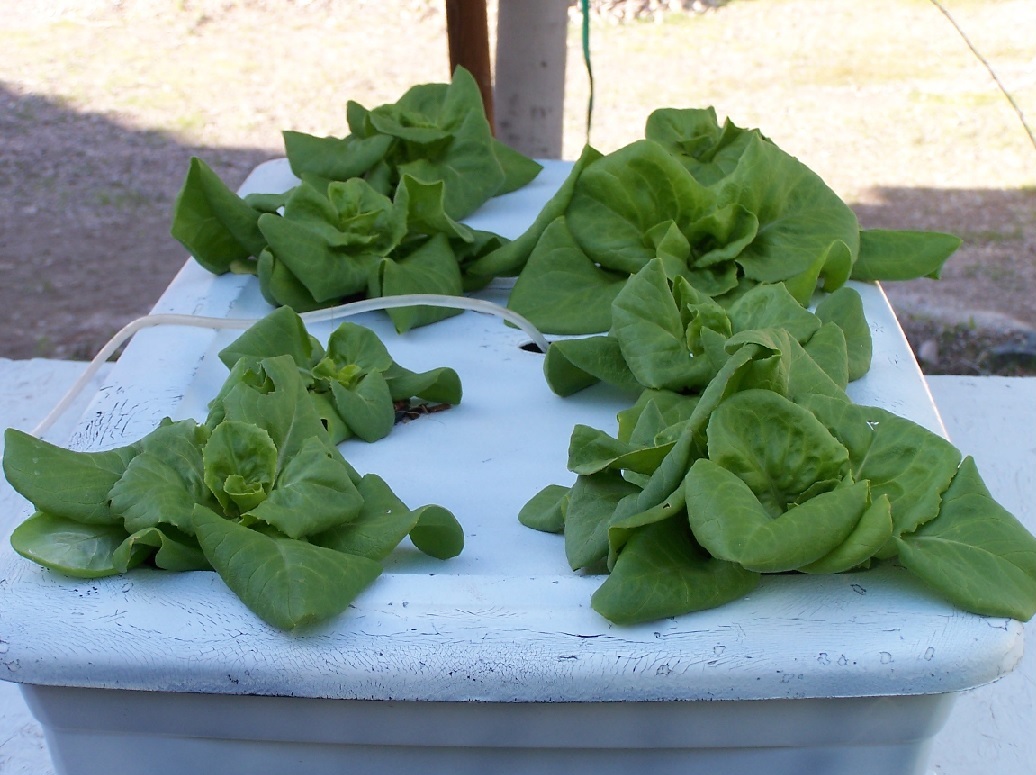
Now fill the net
pots with the growing media. You can use any type of grow media you
want, we like using coco chips in this type of system because it wicks
up moisture well but still has plenty of air pockets to provide oxygen
to the main root ball. Depending on what grow media you use, you may
need to raise or lower the water level in the storage tote to keep it
from becoming to saturated or to dry.
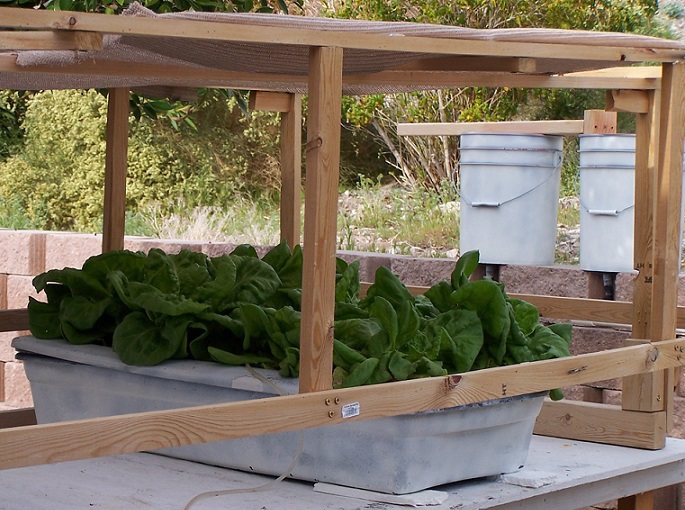
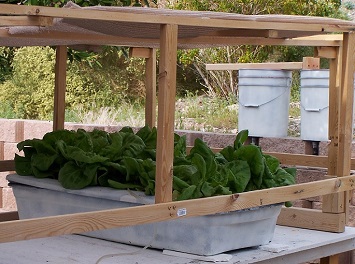
This hydroponic system
is easily expandable, just fallow the previous steps for as many grow
chambers (storage tote) as you want. The only thing you'll want to make
sure of is that you have a good amount of air bubbles getting to each
grow chamber. You can use more than one air pump, or just get a
larger or even high volume air pump instead. If your not sure, just get
a larger air pump, you can't really

ever too much air to the roots. Not enough air to the roots will keep the plants from growing quickly.
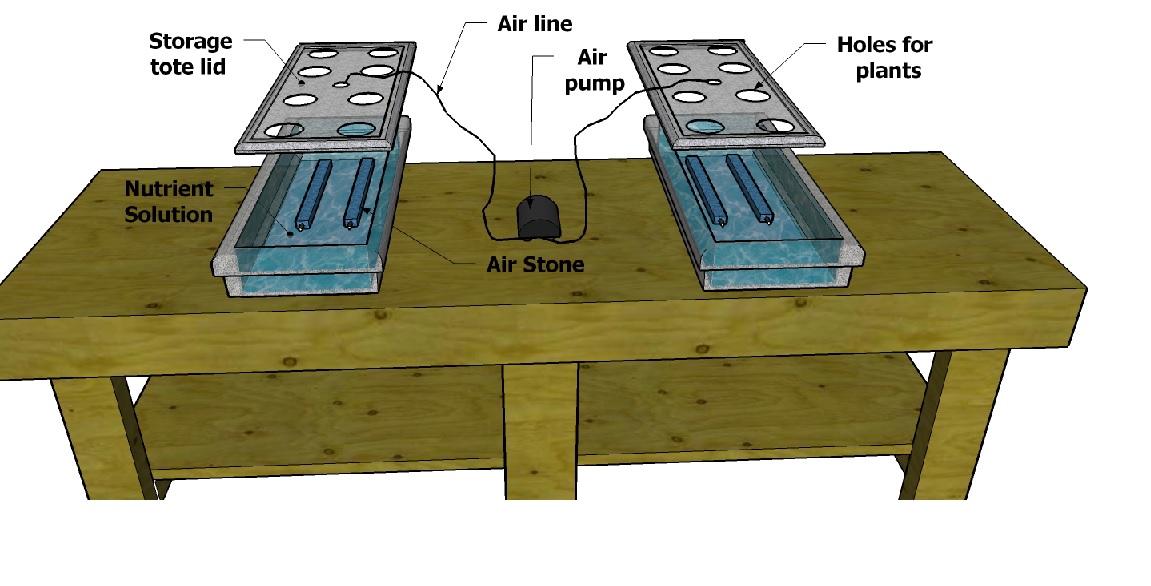
The drawing shows a two grow chamber (storage tote) setup. Most aquarium air pumps have 2 outlets.
So as long as the air pump is large enough to supply enough air, you
can feed multiple chambers with the same air pump. A duel outlet
aquarium air pump sized for aquarium's from 30-60 gallons should be
good enough to use for two grow chambers (storage tote's). But more air
is always better.
Happy Gardening!!!